Setup nopCommerce
Prepare Docker compose
- Create
docker-compose.ymland other required files from instruction in Docker compose for nopCommerce . - Your project will have file structure as:
tree . -a.├── .env├── Dockerfile├── docker-compose.yml├── entrypoint.sh├── init-db.sql└── initialize.shLaunch Docker containers
- At root folder, run the following command:
docker-compose up- This will take a several minutes because you have to wait for downloading SQL Server for Linux image.
- Wait until you see a message “Done initialize a database”
Setup
- Open a browser and navigate to http://localhost:8080.
- A browser will show nopCommerce installation page.
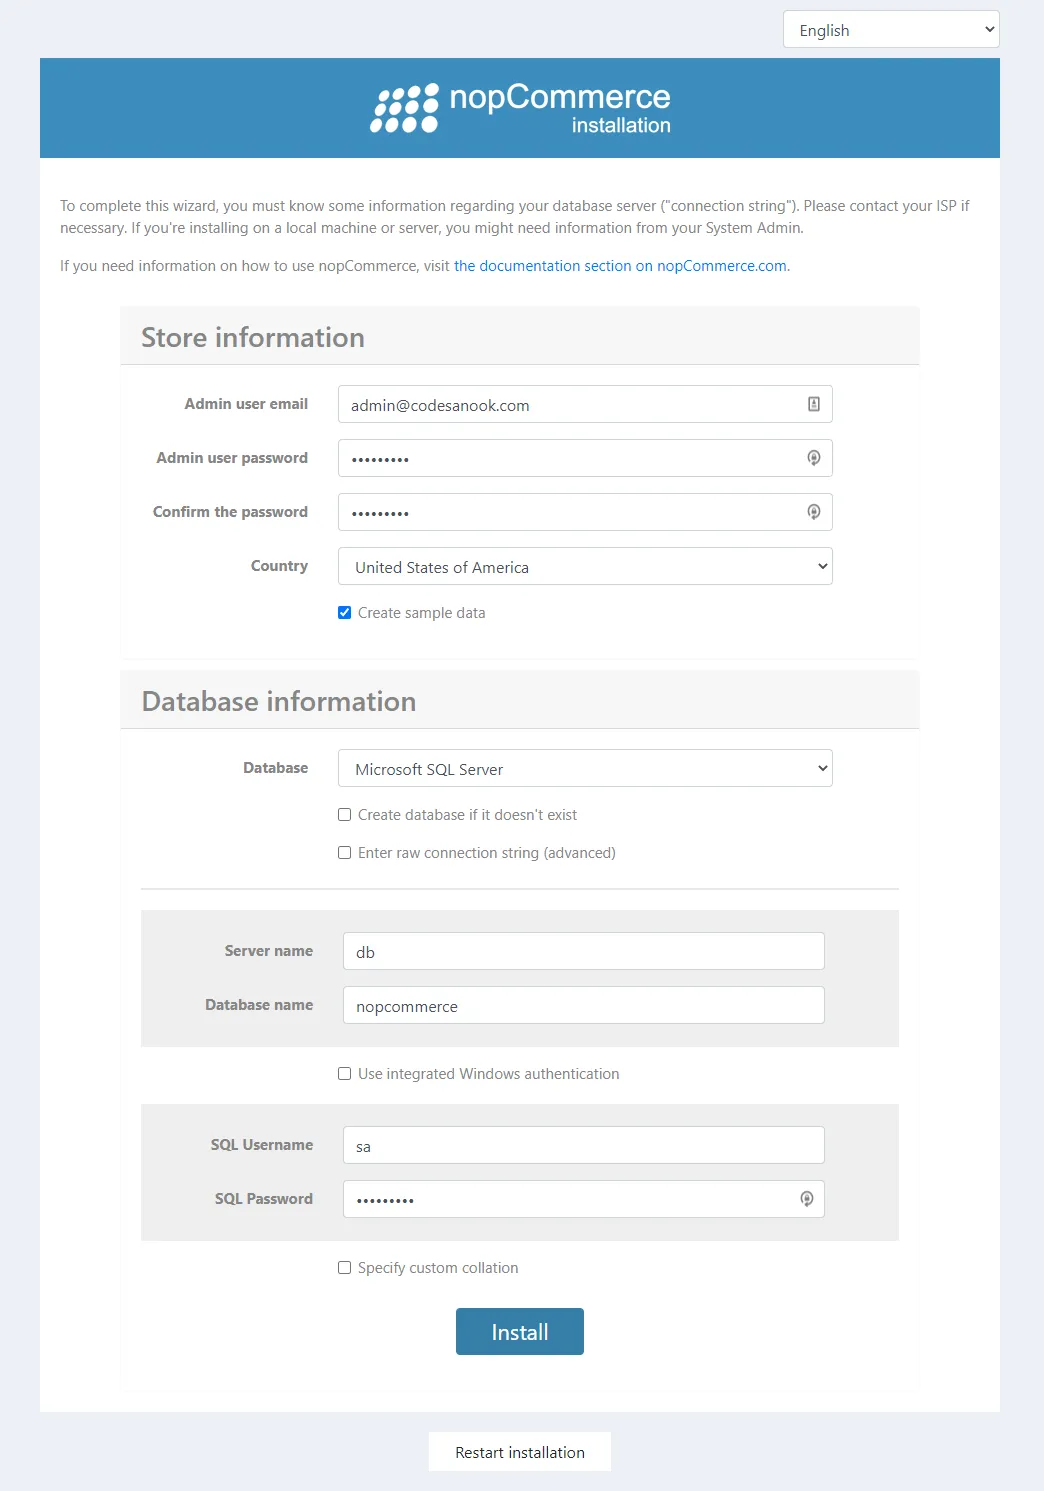
- Fill all required information:
- Your admin email and password
- Select a country.
- Check “Create sample data”.
- Select Microsoft SQL Server database
- For Server name, enter db.
- For Database name, enter nopcommerce.
- For SQL Username, enter sa.
- For SQL Password, enter 12345Abc$ (You can change this password in docker-compose.yml.)
-
Click Install.
-
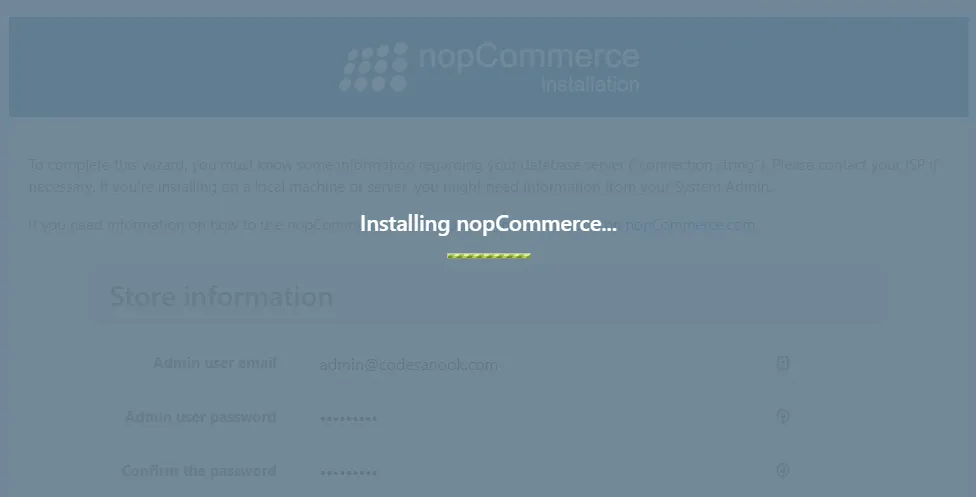
Wait for a while until installation is completed.
-
You will find a message “nopcommerce_compose_web exited with code 0” in a terminal.
Start a website
- In fact, nopCommerce tries to restart a website after installation is completed, but this does work in Docker context. Therefore, you need to manually restart a container.
- Stop and start Docker containers. Kill Docker containers by pressing
CTRL+Cand then rundocker-compose upagain. - Wait for a while until a website is ready.
- Open a browser and navigate to http://localhost:8080
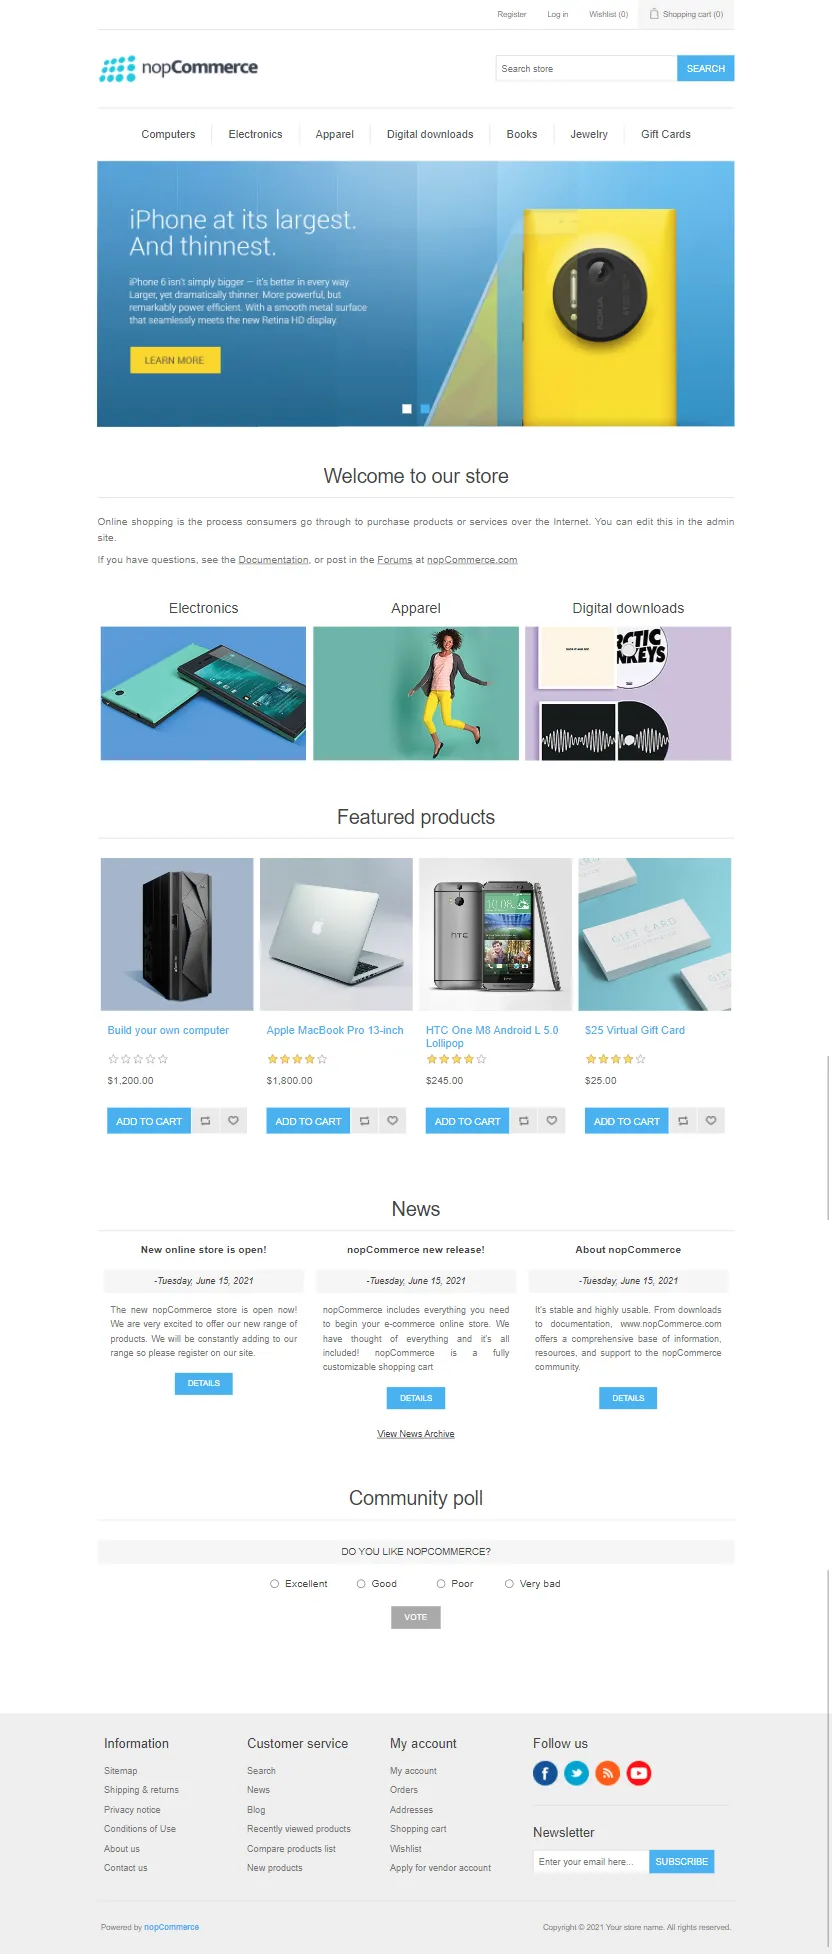
- You will find a home page of nopCommerce with some sample products.
Log in to admin panel.
-
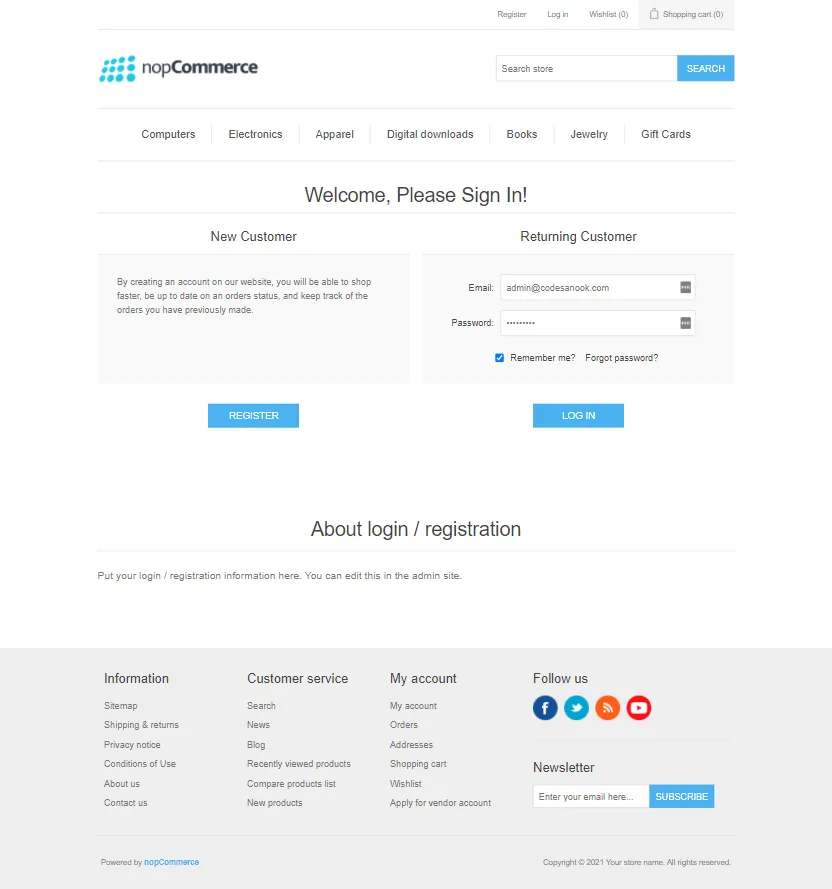
Open a browser and navigate to http://localhost:8080/admin
-
Fill your admin email, password and click “LOG IN”.
-
You will be redirect to admin panel.
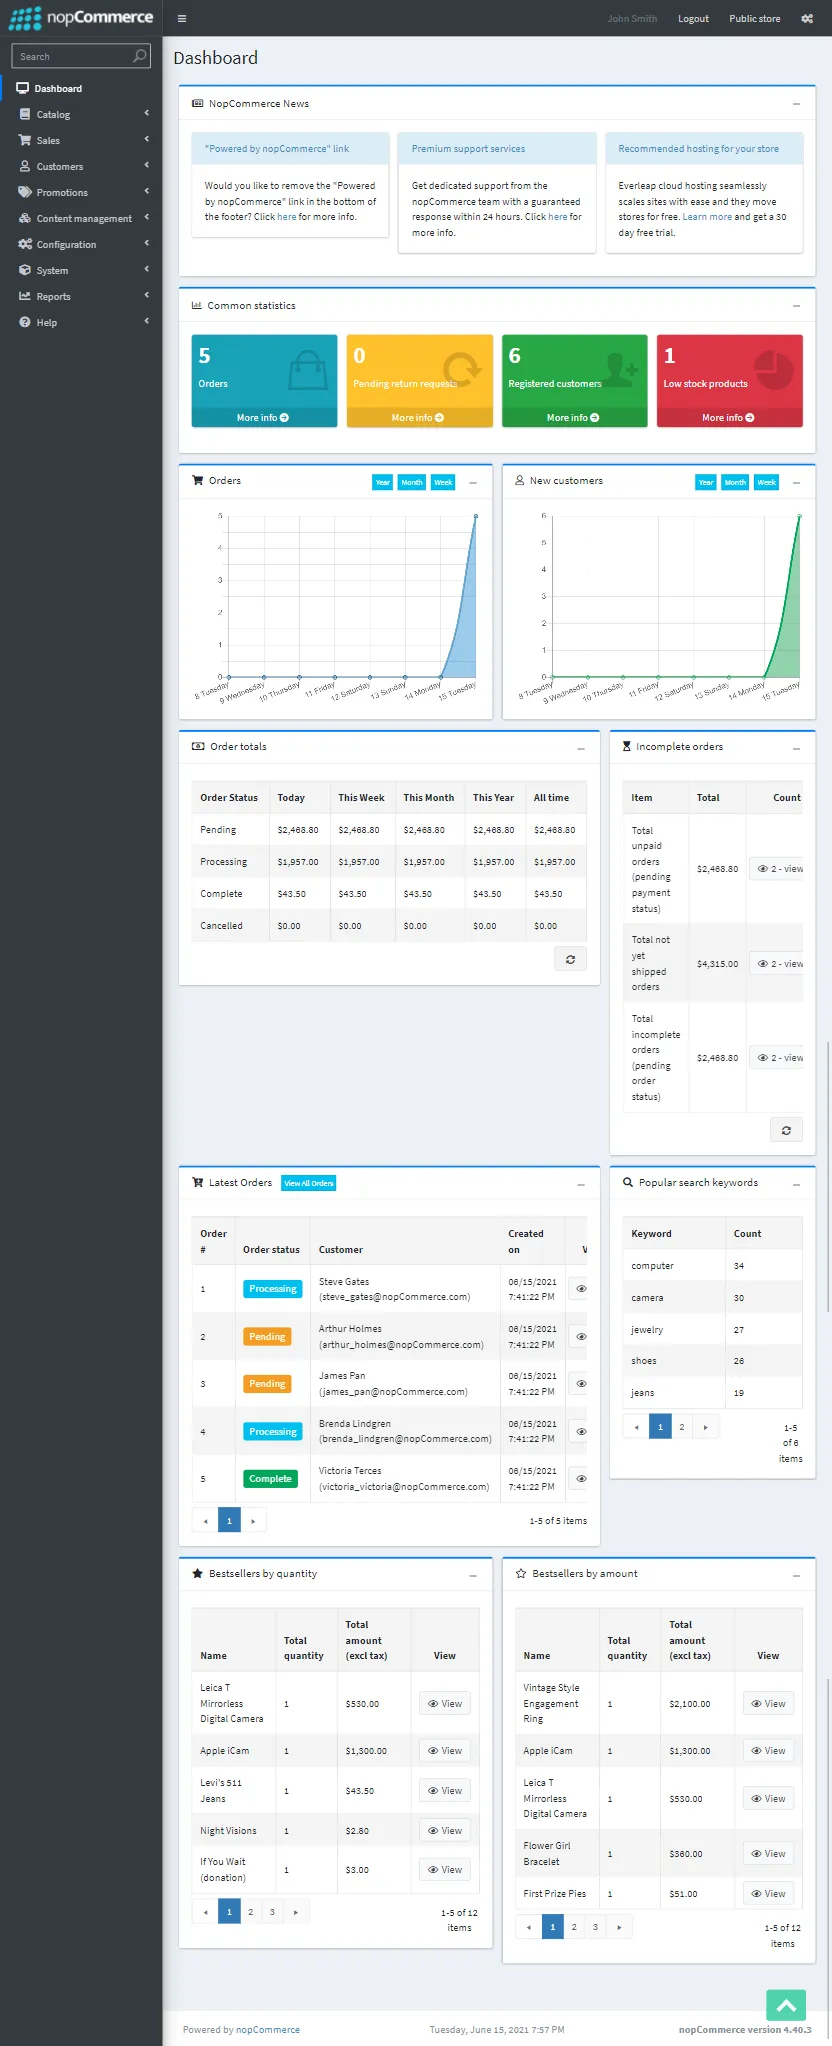
-
You can manage your products on products page.
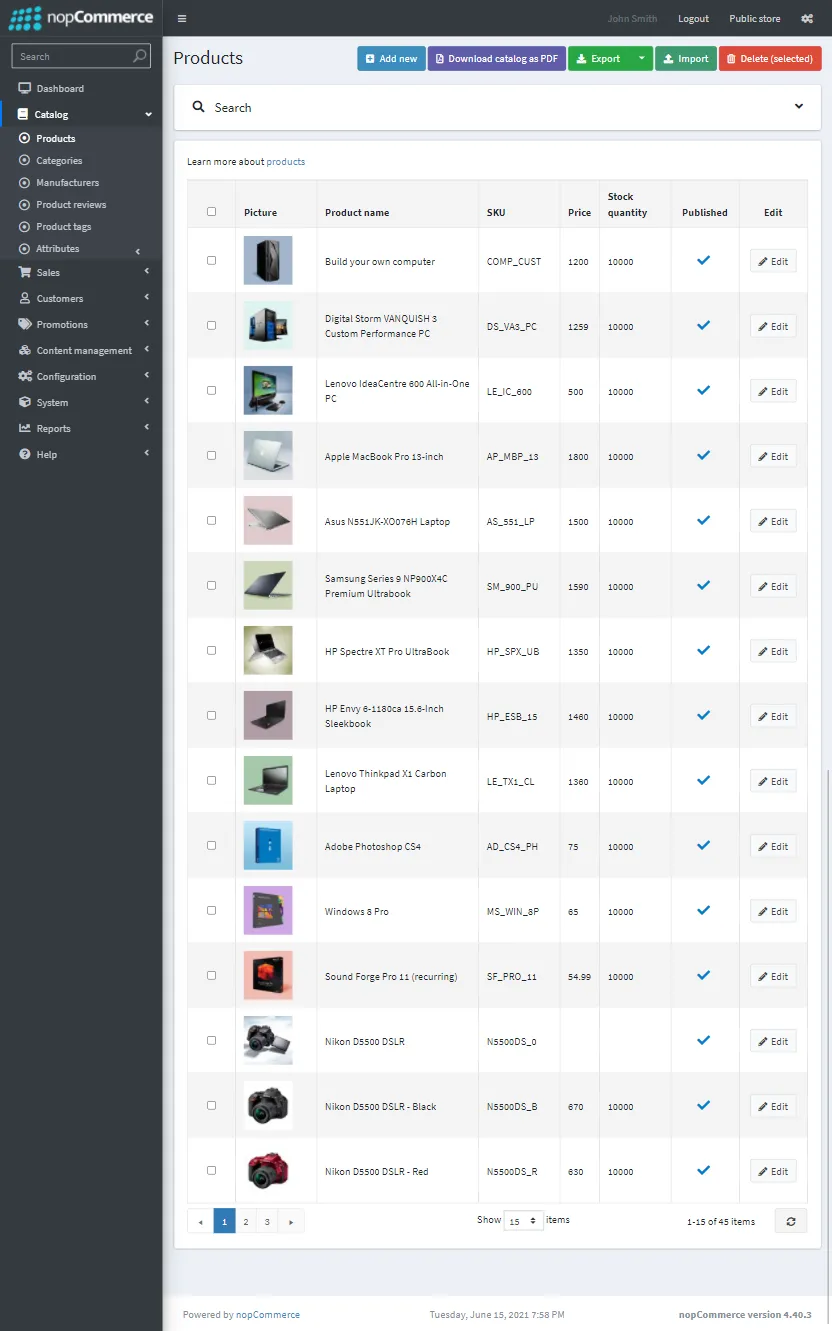
Where are pictures stored?
- By default, nopCommerce store pictures in database
- You can find a setting at http://localhost:8080/Admin/Setting/Media.
- You can also query data with:
SELECT p.Id, p.MimeType, p.SeoFilename, b.BinaryData FROM Picture p INNER JOIN PictureBinary b ON p.Id = b.PictureId;How to connect to nopCommerce container?
docker exec -it nopcommerce_compose_web /bin/sh